First of all, understand that snowboarding is not just slang or something unattainable for “the uninitiated.”
It’s a high-speed machine in “skilled feet.”
Learning to snowboard is not only possible but necessary – few things compare to the thrill that snowboarding brings. Here’s some good news: anyone can learn to snowboard. Of course, simply reading an instruction manual isn’t enough. What’s needed is practice and a lot of desire from two people – yourself and an instructor. One of you dreams of mastering snowboarding no matter what, while the other not only professionally handles the board but is also a virtuoso at teaching students how to ride. <!–more
There are many ways to learn and even more riding techniques. If you’re new to this sport, don’t rush into training. Immerse yourself in the learning process from the very beginning – starting with getting acquainted with the board.
For Beginners
 Snowboarding for Beginners
Undoubtedly, there’s a basic technique – methods that allow someone far removed from sports to learn snowboarding sufficiently without outside help.
Snowboarding for Beginners
Undoubtedly, there’s a basic technique – methods that allow someone far removed from sports to learn snowboarding sufficiently without outside help.
The main thing is not to lose perseverance. Remember how, as a child, you taught yourself to ride a bike or skate. Snowboarding is undoubtedly harder, but the principle is the same: don’t be afraid, be patient, and be prepared for bruises and bumps.
But don’t forget – snowboarding should bring joy; even your first mistakes should be taken with a smile. After all, every fall off the board brings you closer to perfection.
So, training for beginners can be conditionally divided into 4 stages.
Preparation
If you’ve decided not to rent a snowboard but to find yourself a true partner for years to come, choose it yourself from thousands of options:
- Always choose a board in a store. If you’re a beginner in this sport, forget about used snowboards. Identify several reputable stores and start browsing.
- Don’t waste time on other products, but take a meticulous interest in the snowboards you like. If the salesperson isn’t eager to talk at length about each board, leave the store.
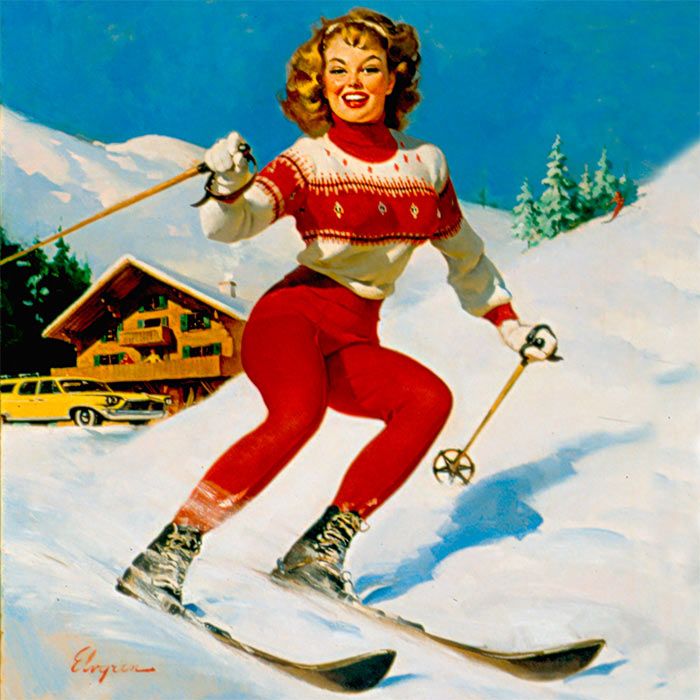
Snowboarding Gear And of course, you’ll need snowboarding gear . Learn how to choose it from the article linked below the image. And if you’re wondering where to spend a snow-filled weekend, Abzakovo might be the spot. Read about the resort here .
- Don’t rush into purchases, especially in checkout lines. Promotions like “99% discounts” often increase the risk of ending up with a poor-quality board.
- Inspect and touch every snowboard in the store. From those you like, select the one that fits perfectly in terms of all parameters – your weight, height, foot size, and, of course, your budget.
First Steps
 First Steps in Snowboarding
Now it’s time to start handling the board. Remember: during this period, you’ll spend more time lying in the snow than standing on the snowboard – and that’s perfectly normal.
First Steps in Snowboarding
Now it’s time to start handling the board. Remember: during this period, you’ll spend more time lying in the snow than standing on the snowboard – and that’s perfectly normal.
Choose a slope for practice that’s 60 m long and 10–20 m wide. The ideal option is a slope with a small incline at the end.
Decide which foot feels more comfortable leading by trying one of these methods:
- Stand facing downhill and have someone gently but unexpectedly push you from behind. Your leading foot will be the one you step forward with first to balance yourself.
- Fasten your foot into the front binding alternately on both sides to ride a flat section, pushing yourself with the free leg. You’ll feel which stance is more comfortable.
By the way, this exercise will be your first step in training. The main thing here is to take short strides, as it makes the exercise easier to perform.
If your leading foot is your left, you’re a “regular” snowboarder in snowboarder slang. If it’s your right, you’re a “goofy” rider.
Exercise #2:
- Stay in the same training spot;
- Slightly crouch and spring upward;
- Make the exercise harder by shifting the back of the snowboard from side to side while keeping the nose stationary.
Once you master this, you’ll feel the board beneath your feet and gain control of your body on the snowboard.
Exercise #3:
- Lie on the snow with the board strapped on;
- Try to roll over from your back to your stomach and back again.
This technique is practiced to quickly get back up after a fall and to understand how the board reacts during these movements.
Exercise #4: Learn how to fall properly – minimize bruises:
- Stand on a small slope with a good incline (2–3 m) and strap into the board;
- Remember – never fall onto straight arms, don’t stick your butt out while falling, and avoid landing directly on your knees;
- Falling on your arms, bend them significantly at the elbows, keeping them in front of you; also bend your knees and torso.
- When falling, try to touch the slope at multiple points simultaneously.
- Bend your legs in such a way that the board stops plowing through the snow.
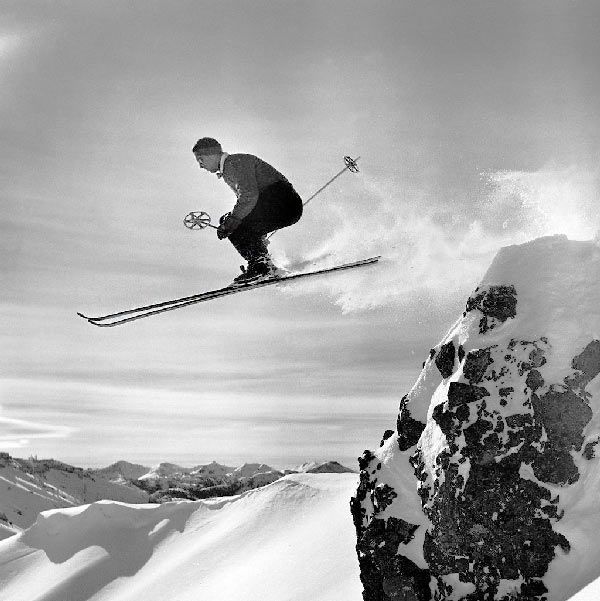
Movies about snowboarders and skiers Love movies about snowboarders and skiers ? Click on the image. If there’s one place that feels amazing both in winter and summer, it’s Dombay. Read the article about the resort. Wondering what a snowscoot is? Find the answer here .
- Roll down the hill with your arms spread wide.
- Repeat the same backward, but land on your arms and the hip area simultaneously.
- The straighter you are at the moment, the higher the chances of avoiding injuries.
Stance and Gliding
 Stance and gliding on a snowboard
Once you have become “one with the snowboard,” and can fall nearly professionally, move on to mastering the stance and gliding in it.
Stance and gliding on a snowboard
Once you have become “one with the snowboard,” and can fall nearly professionally, move on to mastering the stance and gliding in it.
So, the board is parallel to the slope, and you’re about to slide down:
- Keep your legs angled at about 110° - 130°, allowing you to “smooth over” the bumps on the slope.
- Your upper torso should remain motionless relative to the slope, with your body weight evenly distributed across both legs, freely moving up and down. This will help you balance, redistributing your weight from leg to leg as needed.
- Bend your arms at the elbows and direct them down the slope, keeping them in front of you.
- Use your arms as a powerful balancing aid but don’t forget to keep your hands at a level no lower than your waist.
- Slightly turn your shoulders toward the front end of the board.
Practice adjusting the angle of the board against the slope (by pressing down on your boot toes), increasing and decreasing your speed.
Mastering the ability to quickly return to your stance and hold it will set you apart from other beginner snowboarders.
The next technique will become a regular part of your skillset:
- Standing on the slope, press the toes of your boots onto the snowboard edge to prevent it from cutting into the snow and gaining speed.
- Shift part of your weight to your left foot by pressing down slightly harder than on the right.
- Repeat the same action with your right foot if you want to move to the right side of the slope.
Challenge yourself by practicing this backward.
Turning and Stopping
Knowing how to turn and stop at any moment will turn you from an amateur into a confident snowboarder who knows their way around the board.
Each turn consists of 3 phases:
A – Start of the turn. Assume your stance. Press your boot toes down on the board’s edge to initiate a lateral slide. Gradually transfer your body weight to the front foot.
B – Straight gliding. Maintain your stance, distributing your weight evenly across both feet. Cross the slope line and move to the opposite edge. During this phase, keep your upper body relaxed.
C – End of a left turn transitioning into the start of a right turn. Slightly rotate your torso toward the turn direction. Carefully apply pressure to the board’s edge with the front foot’s toes. Make sure the back part of the board remains sufficiently perpendicular to the slope as you cross the slope line before stopping.
The snowboard glides on its sliding surface only during phase B. In all other phases, it stays on its edges. To stop, remain in phase C.
The next step is to practice the three phases on both the right and left sides, creating seamless turns.
Advanced Riders
 Advanced snowboarders
If you’re looking to master snowboarding styles, you’ll certainly need an instructor. However, you’ve already accomplished so much—being able to glide smoothly, stop, and tackle turns in the most refined ways.
Advanced snowboarders
If you’re looking to master snowboarding styles, you’ll certainly need an instructor. However, you’ve already accomplished so much—being able to glide smoothly, stop, and tackle turns in the most refined ways.
So, before hiring an instructor, decide which discipline of snowboarding (riding style) you’d like to focus on. Note: New possibilities in this sport will likely captivate you—you probably won’t be able to simply “forget” about it.
Let’s examine five snowboarding disciplines.
Freestyle
Freestyle is subjective as a competitive discipline and incorporates jumps, flips, spins, and other elaborate tricks.
There are several variations, including:
- Halfpipe – Riding inside a snow-packed trough (essentially a ramp). The trough is referred to as a “pipe” or “halfpipe” as well. The snowboarder exits one side of the pipe, performs a trick, and lands on the opposite side. The average halfpipe is 100 meters long, 3–4 meters tall, with a slope of 15°–20°.
- Quarterpipe – Riding in a structure resembling one large halfpipe wall.
Freestyle Snowboards:
- Shorter, lighter, more maneuverable, and thicker.
- Constructed with a “TwinTip” design, where the front and back of the snowboard are identical.
Relaxing in Sheregesh Endless joy awaits during your trip to Sheregesh —one of the most unforgettable ski resorts. Planning to shop for a snowboard? Make sure to read this article first.
Freestyle Gear:
- Maximum protection.
- Standard bindings.
- Soft boots.
Freeride
 Freeride Snowboarding
This is free riding in nature, away from designated tracks.
Freeride Snowboarding
This is free riding in nature, away from designated tracks.
To master this style, you need to learn how to think in the mountains to maximize your safety and enjoyment while riding.
You will reach a qualitatively new level of freeriding when you learn to feel the “snow’s reaction force.” It will allow you to choose the right route effortlessly and distribute your weight on the board effectively.
There are several directions in this style:
- All-mountain, full ride – freeriding with freestyle elements – riding on ungroomed trails and slopes while performing tricks.
- Climbing to a wild peak on foot (backcountry), by helicopter (heliboarding), or by snowcat (snowcat skiing) and descending.
- Extreme – riding at incredible speeds where you can and cannot.
- Heli-skiing – descending on virgin snow from hard-to-reach slopes. Riders are dropped off at the summit by helicopter.
Ideally, freeriding training should take place on “powder” – untouched, fresh snow.
Freeride boards:
- longer and wider than standard boards;
- their front part is longer, so your stance will be shifted toward the back of the snowboard – making it easier to “float” on powder.
Freeride equipment:
- regular soft bindings;
- quality specialized clothing;
- a freerider’s backpack with essentials (from a music player to a shovel);
- soft boots.
Carving
 Carving in Snowboarding
High-speed riding on hard snowboards and in stiff boots, primarily on groomed pistes.
Carving in Snowboarding
High-speed riding on hard snowboards and in stiff boots, primarily on groomed pistes.
A challenging style that keeps you constantly engaged, carving creates the most beautiful patterns on the slope and is divided into the following types:
- Alpine – stiff, narrow boards on hard slopes.
- Racing – competitions and personal training on specialized trails.
- Boardercross – not a style but a discipline that includes all ways of riding: descent, sharp turns, jumps, moguls – a very spectacular discipline.
Горнолыжный центр "Силичи" Planning a trip to Belarus? Visit Silichy Skiing Resort , information is provided below the image. If you are unsure whether you’re more drawn to skiing or snowboarding, figure it out here . When enjoying winter sports, always prioritize your health. Don’t miss this article on thermal underwear .
Carving equipment:
- stiff bindings and boots;
- elongated stiff boards.
Jibbing
 Jibbing in Snowboarding
This style refers to riding on any surfaces other than snow, such as rails.
Jibbing in Snowboarding
This style refers to riding on any surfaces other than snow, such as rails.
When choosing jibbing, keep in mind:
- the equipment for this sport and freestyle is the same;
- snowboard edges are filed down to prevent sticking during slides.
Snowboard Cross
A competitive snowboarding discipline included in the Olympic Games program since 2006.
This riding style is considered the most exciting and promising.
The time to complete the course does not matter: athletes compete directly – developing tactics for each race and navigating a long, complex track with jumps and obstacles.
Video
Watch what freeride snowboarding looks like:
Regardless of your skill level and chosen snowboarding style, enjoy the ride!
Relish the moment you decide to take up snowboarding, grow, and conquer your challenges.