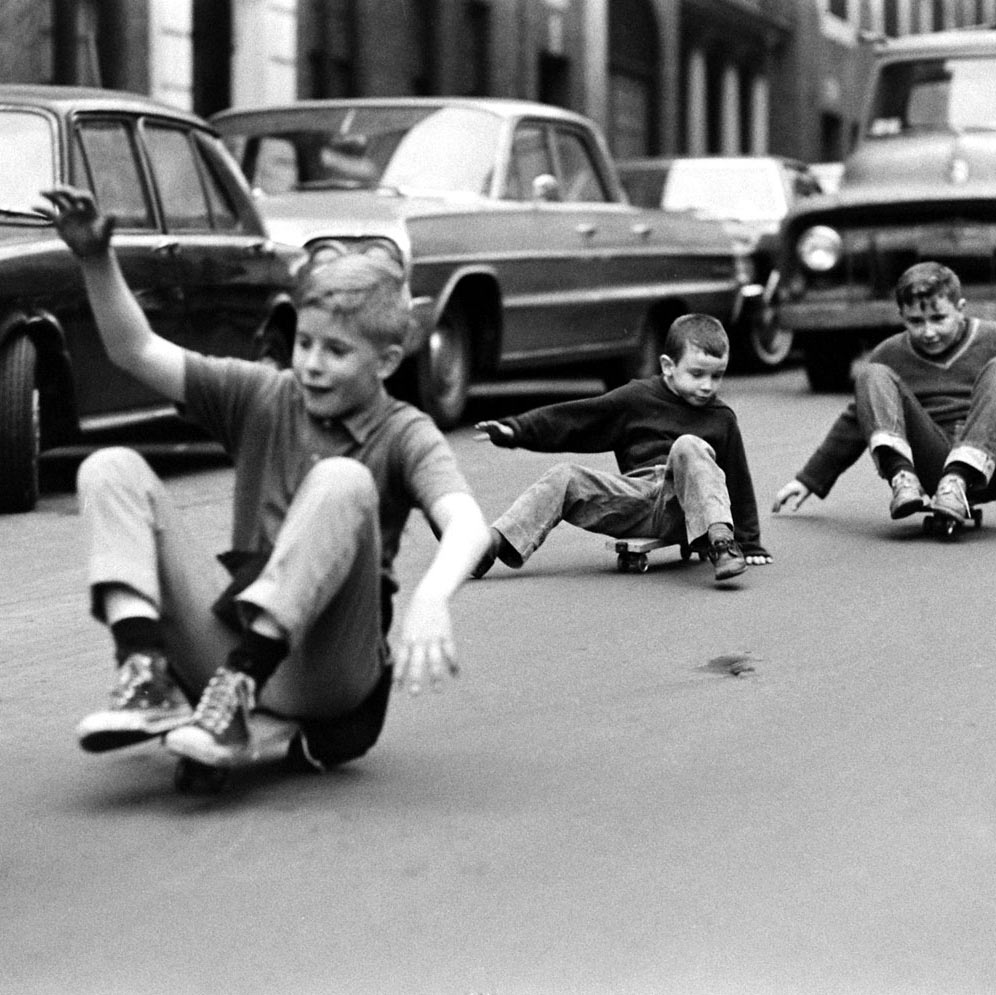
 How much must one love skateboarding to not imagine life without it, come rain or snow! It was on a bad weather day that the tiny board for finger training, known as the fingerboard, was born. Credit for this unique invention goes to a Californian boy, Steven Asher, who not only managed to license his creation but also spread it worldwide.
What exactly is a fingerboard? It’s a type of sport that requires special equipment, enabling your fingers to replace your feet in skateboarding. This piece of equipment is a small board, approximately 26-36 mm wide and 95-101 mm long, complete with wheels. The small board, resembling and functioning like a skateboard, is skillfully maneuvered using the middle and index fingers to perform tricks of varying complexity.
How to ride a skateboard You can read about how to ride a skateboard in another article of ours.
For those drawn to the mysterious world of caves, we’ve prepared a story about the most famous caves in the CIS.
A Micro-Skateboard for Fingers
 Tiny skateboard for fingers
Nowadays, many companies produce equipment for fingerboarding, available in different sizes and modifications. Both plastic and wood are suitable for making the board (deck). However, it’s believed that plastic decks are for beginner fingerboarders, while “solid” wooden boards are the attribute of true professionals. Wooden decks allow for performing advanced tricks and honing one’s skills.
Tiny skateboard for fingers
Nowadays, many companies produce equipment for fingerboarding, available in different sizes and modifications. Both plastic and wood are suitable for making the board (deck). However, it’s believed that plastic decks are for beginner fingerboarders, while “solid” wooden boards are the attribute of true professionals. Wooden decks allow for performing advanced tricks and honing one’s skills.
A fingerboard’s equipment, besides the deck, includes a truck consisting of a base platform, shock absorbers of various stiffness levels, bolts, and nuts that connect the deck and the truck to wheels made of plastic or polyurethane. This is the basis of the finger sports equipment. Additionally, the deck surface is covered with grip tape (rubber or sandpaper). Every true fingerboarder complements their equipment with finger parks—structures to practice tricks on. Among the diverse options, the following are popular:
- Semi-circular ramps;
- Obstacles like steps, rails, and benches that skateboarders might encounter in everyday life or on the streets;
- Plastic or concrete park features and pool shapes.
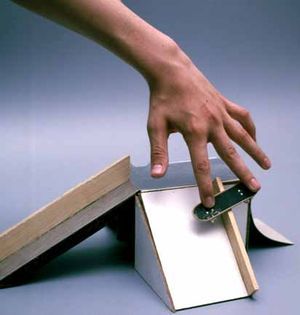
Basic Tricks on a Fingerboard
 How to perform tricks on a fingerboard
Watching a fingerboarder from the sidelines, it might seem like there’s nothing to it: place your fingers on the board, use some finger dexterity, and… failure. Don’t lose heart! Untrained fingers can’t master all the movements right away. Learning becomes easier if you start with the basic tricks, the most popular of which is Ollie, allowing the board to jump over various objects.
How to perform tricks on a fingerboard
Watching a fingerboarder from the sidelines, it might seem like there’s nothing to it: place your fingers on the board, use some finger dexterity, and… failure. Don’t lose heart! Untrained fingers can’t master all the movements right away. Learning becomes easier if you start with the basic tricks, the most popular of which is Ollie, allowing the board to jump over various objects.
So, place your middle finger on the “tail” of the board (the curved end – tail) and your index finger in the center. With a quick and sharp press on the tail, make it “pop” off the surface. Almost simultaneously, with just a fraction of a second delay, the index finger slides upward toward the board’s “nose.” Swift reflexes and coordinated finger movements should lift the fingerboard off the table and send it forward toward the obstacle you aim to overcome (to start, maybe just a pen or a marker).
As you refine your skills, you can eventually tackle higher challenges: jumping onto objects and sliding along their edges with one side of the board. If the fingerboard successfully lands and clears the path without a hitch, you’ve taken your first step and laid the groundwork.
Aside from Ollie, rotations in various planes—flips, slides along the edges of objects using the deck—slides, and combined moves like grinds (also known as fifty-fifty) are popular in fingerboarding.
The elegant yet straightforward trick Manual (Nose Manual) usually follows Ollie. To perform this, after the jump, place any finger on the tail or nose and ride… That’s it: two tricks mastered.
The trick Pop Shove It involves a spectacular board spin. To execute it, position your fingers as you would for Ollie, then press the tail of the deck and try to spin it. If the board twists, land back on it with your fingers—the trick is complete.
Acrophobia - Fear of Heights Learn how to overcome acrophobia - the fear of heights.
Love skiing or snowboarding? Discover the main advantages of the Dombay ski resort.
Properly choosing a sleeping bag for hiking is made easier with the guide available here .
DIY Fingerboard Repair and Crafting
 Fingerboard Parts
For those interested in fingerboarding, there’s a lot to learn by joining fingerboard communities. These groups willingly share advice on forums, discussing repair techniques and ways to improve their gear. After all, there’s no need to discard a beloved fingerboard just because of a minor break—it might be easily fixable. You can even try making one yourself.
Anyone familiar with the basic structure of a fingerboard can find all the “parts” they need without leaving home. Here’s an example of how to do so.
By picking up an old wooden ruler, you’ll quickly notice that its width is perfect for the deck of a fingerboard. You can use a jigsaw to cut it to a length of 95 mm. After outlining the “tail” and the “nose” with a pencil, you can begin sawing. The cut ends should then be rounded off with a file, giving you a base for the fingerboard—though it will still need curved ends.
To create the concaves (the curved edges of the deck), work on the tail and nose with a file. Everyone knows that the better the board is curved, the easier it is to pull off complex tricks. Since the ruler’s edges can be shaped when soaked in water, heat some water in a kettle, pour it into a glass, and dip first the “tail” and then the “nose” into it.
 DIY Fingerboard Deck
Once the wood is wet, bend it at the future curved points to the desired height. After achieving the desired shape, let the wood dry thoroughly, using a regular lighter to assist. If the edges aren’t curved enough after drying, you can use super glue to fix them in place by filling the crevices from bending. Once these steps are done, allow the board to dry completely before moving on to creative customization. The color, decorations, and grip tape design of the fingerboard are entirely up to its owner.
The simplest option for grip tape is sandpaper. Simply place it on the deck, cut along its outline with scissors, and glue it on with super glue. Let it dry, and then get started on decorating. You could write something or draw an image on the deck’s underside with a correction pen. Or, you could find an interesting image in an old magazine or online, stick it on, and coat it with lacquer. Of course, to protect your artwork, you’ll need to wait patiently until the board dries properly. While the painted deck dries, you can focus on the truck assembly, shock absorbers, and wheels.
 DIY Fingerboard Truck
To make the trucks, cut two pieces about 5 mm each from an ordinary pencil. Sand down one side slightly, and on the other, carve out a groove (using a craft knife) to glue in a section of a ballpoint pen refill. For the axle and wheels, you can use a sewing needle and two small beads. Trim the needle to the appropriate length and glue the bead pieces on either side. Once the glue dries, attach the finished trucks to the deck with more glue.
Be patient until the next day to ensure that all the fingerboard parts are securely bonded together.
Once your work is complete, your brand-new fingerboard will be ready to show off its capabilities. Meanwhile, the “newly minted” fingerboarder can take some extra time to review the theory of this sport, practice tricks with their fingers, and relax in anticipation of exciting fun and major victories ahead.